Rafter or Deck Attachment
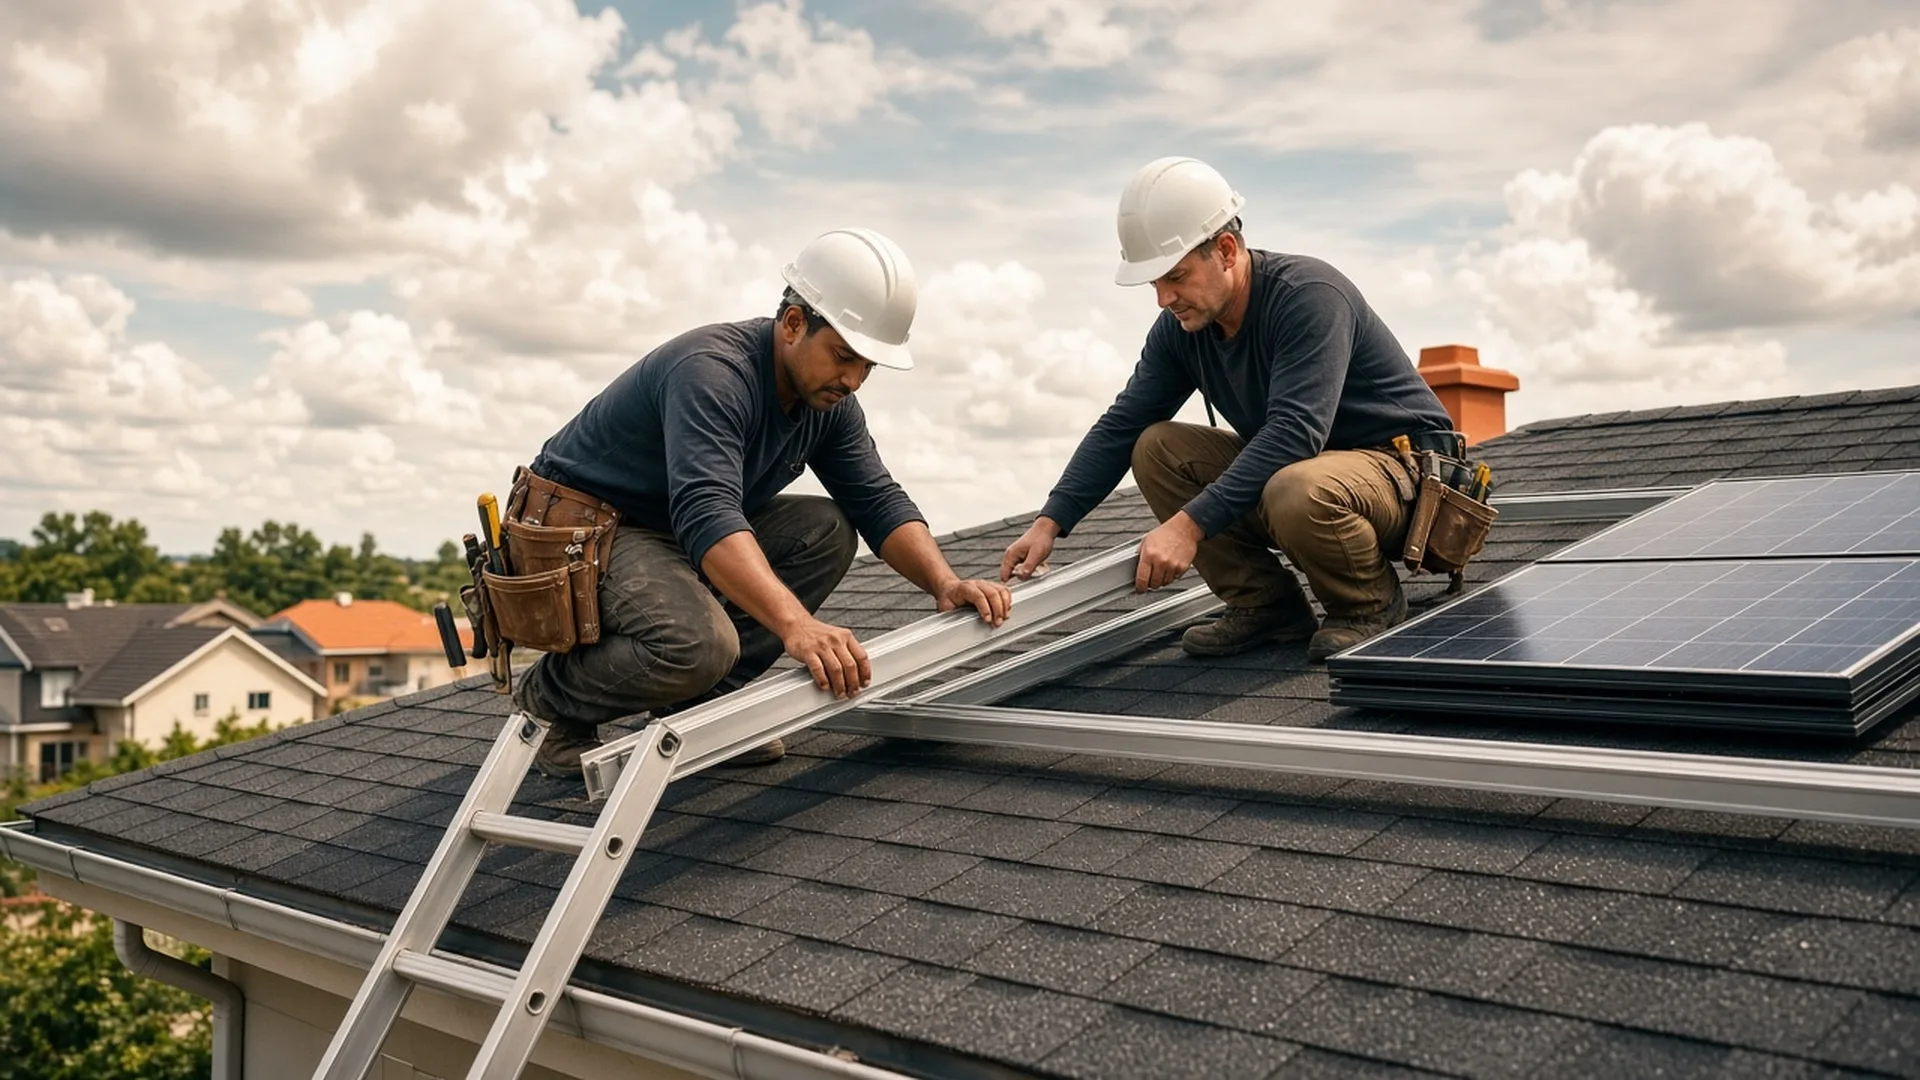
On most pitched roofs, lag bolts go into rafters, not just sheathing. Crews use stud finders or layout plans to hit solid wood. Missing a rafter by an inch can mean a pulled-out foot after the first heavy wind season.
Home Solar Roof Field Notes
We document what crews actually do on the roof: where rails get bolted, how penetrations are sealed, and how panel rows take shape. This site shares observations and questions worth asking before anyone climbs your ladder.
Rails are the backbone of a roof-mounted array. Before any panel lifts off the ground, the crew marks attachment points and decides how weight spreads across the structure below.
On most pitched roofs, lag bolts go into rafters, not just sheathing. Crews use stud finders or layout plans to hit solid wood. Missing a rafter by an inch can mean a pulled-out foot after the first heavy wind season.
Two rails support each row of panels. Spacing depends on panel frame length and wind zone. A crew that rushes layout may leave gaps that make clamping awkward or force odd panel overhangs at the roof edge.
Every lag bolt or standoff creates a path for water. The quality of flashing and sealant at each point matters more than the number of panels on the roof.
On shingle roofs, crews often use flashing plates that slide under upper courses. The boot must sit flat. A lifted edge catches wind-driven rain and sends it toward the deck.
Not all sealants handle UV and thermal cycling the same way. Ask which product goes under the flashing and whether it needs dry weather to set. A rushed install before rain can trap moisture under the boot.
Wiring paths sometimes need separate roof exits. Each entry gets its own flashing detail. A single oversized hole with caulk around the edges is a leak waiting for the next storm.
Once rails are set, panels arrive in crates and go up row by row. Clamping order, gap spacing, and wire management all happen on a sloped surface with limited footing.
End clamps hold the outer edges of each panel. Mid clamps sit between two panels and share a rail slot. A mixed-up clamp order can leave one panel edge unsupported until someone catches it on the second pass.
Cables run along rails or through clips to keep them off hot surfaces. Loose wires chafe against sharp metal edges. Tidy routing also makes future service visits faster if a connection needs checking.
These numbers reflect published guides, documented roof types, and questions we answer through our contact form. They describe our editorial scope, not install volume.
Counts updated as new articles and reference material are added to the site.
Two recent articles on mounting details and roof penetrations. Each one focuses on a single question homeowners ask before install day.

Most homeowners watch panels go up but miss the rail layout underneath. This note walks through how crews pick attachment points on a typical shingle roof and why a missed rafter shows up years later as a loose foot, not a panel problem.
Read Article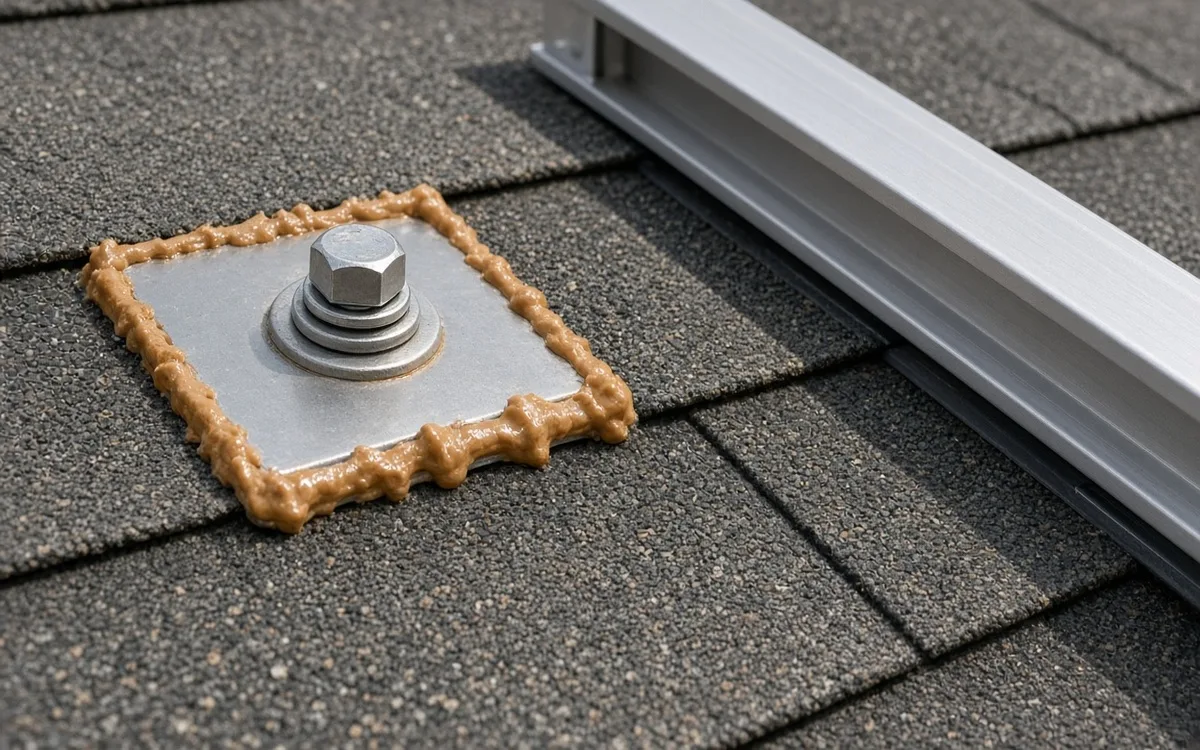
A leak at a solar mount rarely starts where you expect. This article lists three flashing details you can spot from the ground with binoculars and two questions to ask the crew lead before they seal the last boot.
Read ArticleThese notes come from readers who used our guides before their install day. Names are shared with permission. Results vary by roof type and crew.
We provide knowledge about roof work during solar panel installation. Send us your question about mounting details, flashing, or what to expect on install day. We respond with information, not a sales pitch.
RoofLedger publishes informational content about roof work during home solar panel installation. Our articles describe what typically happens on site, what questions to ask, and what licensed professionals handle. This material is intended to help you prepare informed conversations with your installer.
We are not a solar installation company. We do not install panels, schedule crews, or perform work on your roof. We do not sell solar panels, inverters, batteries, or mounting hardware. We do not compare equipment brands or recommend specific products.
RoofLedger does not provide financial, tax, or utility bill guidance. Interconnection and permitting rules vary by state and utility — check official sources for current information.
Grid interconnection, electrical panel work, and structural load assessment require a licensed electrician or qualified engineer. Do not attempt roof work, wiring, or panel modifications yourself unless you hold the required licenses for your jurisdiction.
Every roof and home is different. Details that work on one property may not apply to yours. Use our content as a starting point for questions, not as a substitute for professional site assessment. RoofLedger is not responsible for decisions you make based on this information, including your choice of installer, system size, or mounting approach.