Roof Penetration Flashing: What to Check Before Panels Go Up
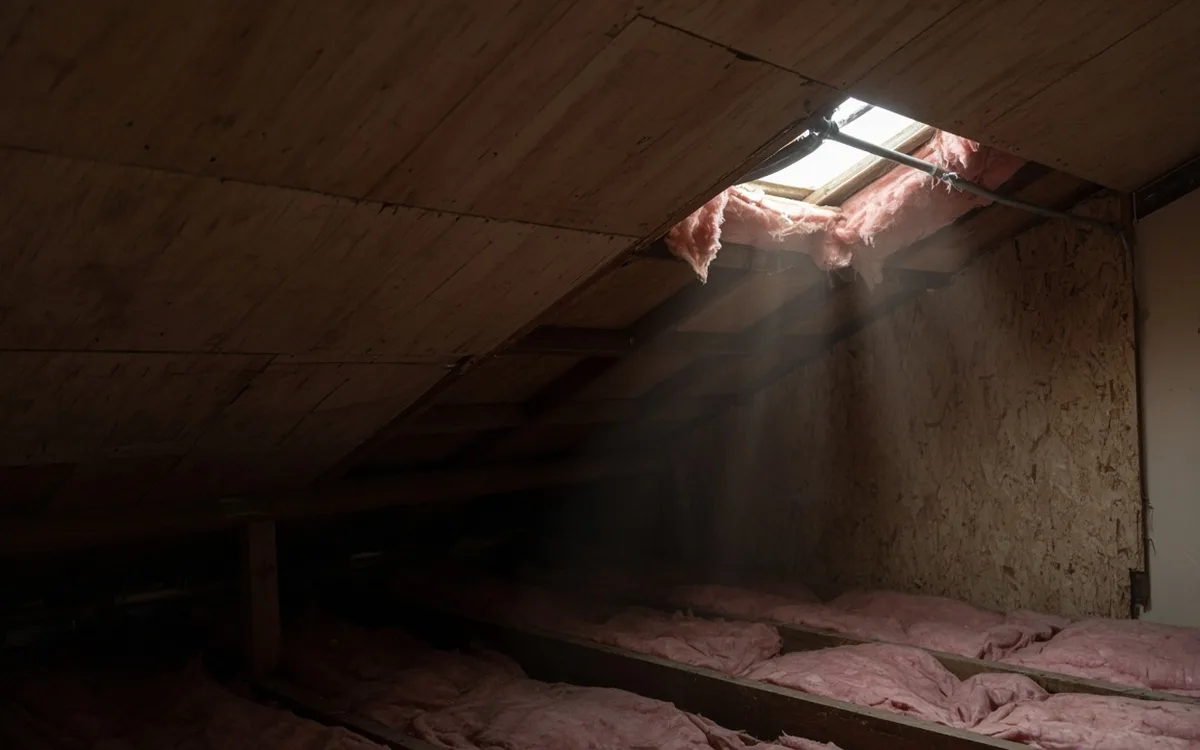
A neighbor called their installer about a ceiling stain six months after solar went live. The leak traced to a mount foot two bays from where water first appeared in the attic. From the street the array looked fine; the flashing at one lag bolt had never fully bonded to the shingle below.

Why Solar Leaks Rarely Start Where You Expect
Water follows the path of least resistance. On a roof with new penetrations, that path is often sideways under shingles rather than straight through the bolt hole. A gap between a flashing flange and the shingle course above it can channel runoff toward a rafter bay far from the visible drip. By the time stain appears on a ceiling, the entry point may be several feet upslope.
That is why checking flashing before panels cover the feet matters more than inspecting the array after the fact. Once hardware hides the boots, you rely on attic checks and ground-level guesses.
Three Details You Can Spot From the Ground
Binoculars from the lawn or a view from an upper window are enough on install day. You are not judging torque or under-shingle layers — you are looking for consistency across feet on the same rail run.
- Flange overlap. The metal plate should sit flat with its upper edge tucked under the shingle tab above. A flange that rides on top of granules or lifts at one corner will not shed water the same way as the others.
- Sealant pattern. A thin bead around the bolt head is normal. A thick mound that covers the entire flange often means someone compensated for a gap rather than re-seating the plate. Mounds crack differently than a proper lap over time.
- Shingle disturbance. Lifted or creased tabs near a foot suggest the installer forced alignment without re-laying the course. Those tabs may not re-seal when pressed back down, especially in cold weather.
Flashing fails quietly. The bolt can feel tight while the seal between plate and shingle never fully closed — that gap is what water finds first, usually on the second or third heavy rain after install.
Shingle Roofs vs Tile: Different Details, Same Principle
On asphalt shingles, the foot flange and bolt head are the visible parts. On tile, much of the work happens under the tile with a hook or bracket system, and the visible piece may look minimal from the street. Do not compare your tile-roof neighbor's install to yours and assume the same flashing rules apply.
Ask which detail your crew uses for your roof type and where the primary water barrier sits — on top of the tile, under it, or at a replacement tile cut. Miscommunication here is a common source of follow-up visits on mixed-material neighborhoods.
Two Questions for the Crew Lead Before the Last Boot
While feet are still exposed and someone is on the roof with sealant in hand, ask:
- Does every foot use the same flashing kit on this run? Mixed kits on one rail line happen when a truck is short one part. The answer should be yes, or the crew should explain why one foot needs a different detail near a vent or valley.
- Can I see the last foot before you seal it? The final attachment is often rushed at end of day. Watching one sealing step tells you more than inspecting twenty feet already covered. Note whether the installer lifts the upper shingle before setting the flange.
These questions take less than a minute. A lead who walks you through the detail is usually the same person who catches their own mistakes before panels hide them.
After Sealing: What to Record for Later
Take wide photos of each rail run from the eave before panels go up. Mark which feet sit near valleys, vents, or changes in roof pitch. If a leak appears later, those photos shorten the search.
Schedule an attic check after the first hard rain — not the first drizzle. Light mist will not test a marginal seal the way an hour of steady runoff will. A dry attic after a real storm is more meaningful than a dry attic after a passing shower.
If you see a stain, reference your photos before calling the installer. Pointing to a specific foot location speeds the follow-up and reduces guesswork about which penetration to re-work.