Post-Install Roof Walk-Through: What Crews Verify Before They Leave
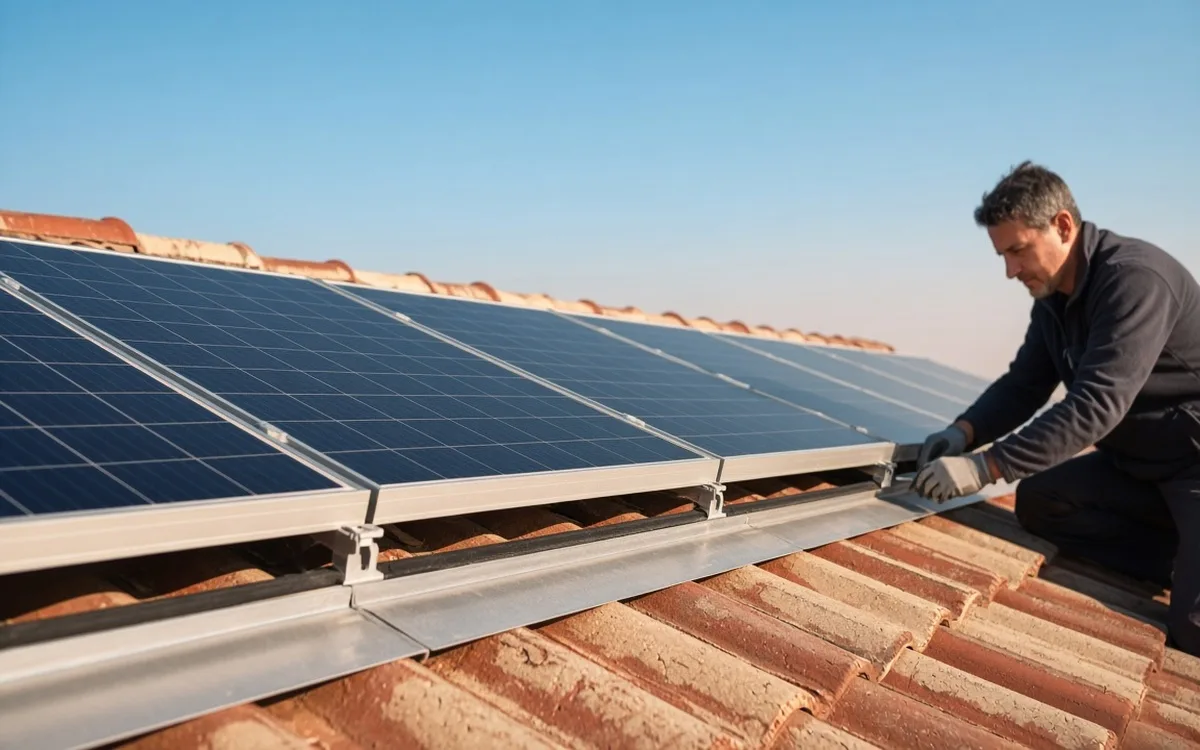
The last panel clicked into its mid clamp an hour ago and the truck is already loaded. Before keys turn in the ignition, a lead installer usually makes one slow lap around the array — not for photos, but for items that fail quietly if skipped.
Why the Final Lap Happens After Panels, Not Before
Mount work gets checked while feet are exposed. The close-out lap catches what panel placement hides: skirt gaps at the array edge, a conduit boot seated after cable pull, end caps left off a rail segment that terminates near a valley. Crews in a hurry treat this lap as optional. Good leads treat it as the signature on the job.
You can join from the ground without climbing. Watch where the lead pauses longest — those stops map to items most likely to generate a service call later.
Array Edge and Skirt Details
Panel skirts and critter guards sit at the perimeter where wind pulls hardest. From the yard, look for consistent coverage along the low edge and no visible gap between the last panel frame and the roof plane. A skirt tab that flaps in breeze was probably clipped but not fully seated.
Edge work fails in storms, not on install day. A skirt gap you can see from the driveway on a calm afternoon is a gap that will collect debris and channel runoff toward a foot you never inspect again.
Rail Ends, Caps, and Grounding Hardware
Open rail ends collect water and expose cut aluminum edges. Caps should sit flush at every termination you can see from the eave. Grounding lugs and bonding jumpers are harder to spot once panels cover mid spans, but the lead often re-touches the visible bond at the array edge before sign-off.
From ground level, check for:
- caps present on both ends of each visible rail run;
- no loose hardware or cut rail stubs pointing upslope without a cap;
- grounding wire routed tidy at the edge, not draped across a shingle course that will lift.
Conduit Boots and Roof Penetrations
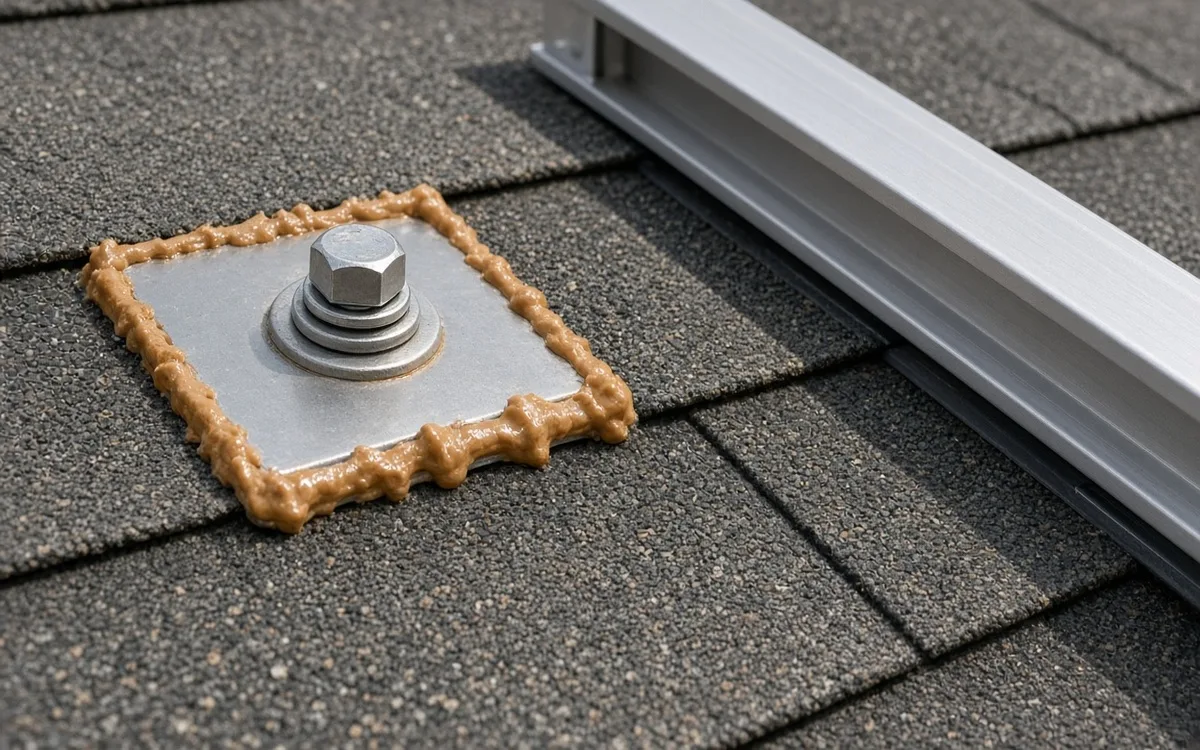
Conduit paths are installed early and sealed late. On the final lap the lead confirms each boot is seated, sealant is continuous, and the cable exit angle will not stress the fitting when the run heats in summer. A boot that looks fine from the street may still be proud of the tile or shingle course — that proud edge is where wind-driven rain starts.
Compare boots on the same run for consistent sealant color and flange overlap. One dull boot among shiny neighbors sometimes means it was touched up separately after a rework.
What a Lead Typically Runs Through on That Last Lap
Order varies by crew, but the sequence usually follows the path water takes off the roof. From the ground you can track the lead's progress and note whether each stop got attention:
- Low edge of the array — skirts, clips, and any exposed foot near the eave.
- Conduit exit points — boot seal, drip loop clearance, strapping at the penetration.
- Rail terminations and visible bonding at the array perimeter.
- Valley and obstruction adjacency — panels near vents, pipes, or crickets.
- Yard and work area — stray shingle tabs, fasteners, and packaging removed from gutters.
If the lead skips a zone entirely, ask before they leave. A two-minute detour beats scheduling a return visit for one boot.
Your Ground-Level Checklist Before the Crew Drives Away
You are not signing off on structural or electrical work — that belongs to the installer and your jurisdiction's requirements. You are confirming visible roof details match a complete close-out:
- Ask whether the final lap is done or still planned — some crews return a lead the next morning.
- Request wide photos of each array edge and every conduit boot from the installer, not only panel glamour shots.
- Walk the yard for dropped fasteners; they end up in tire treads and lawn mower paths.
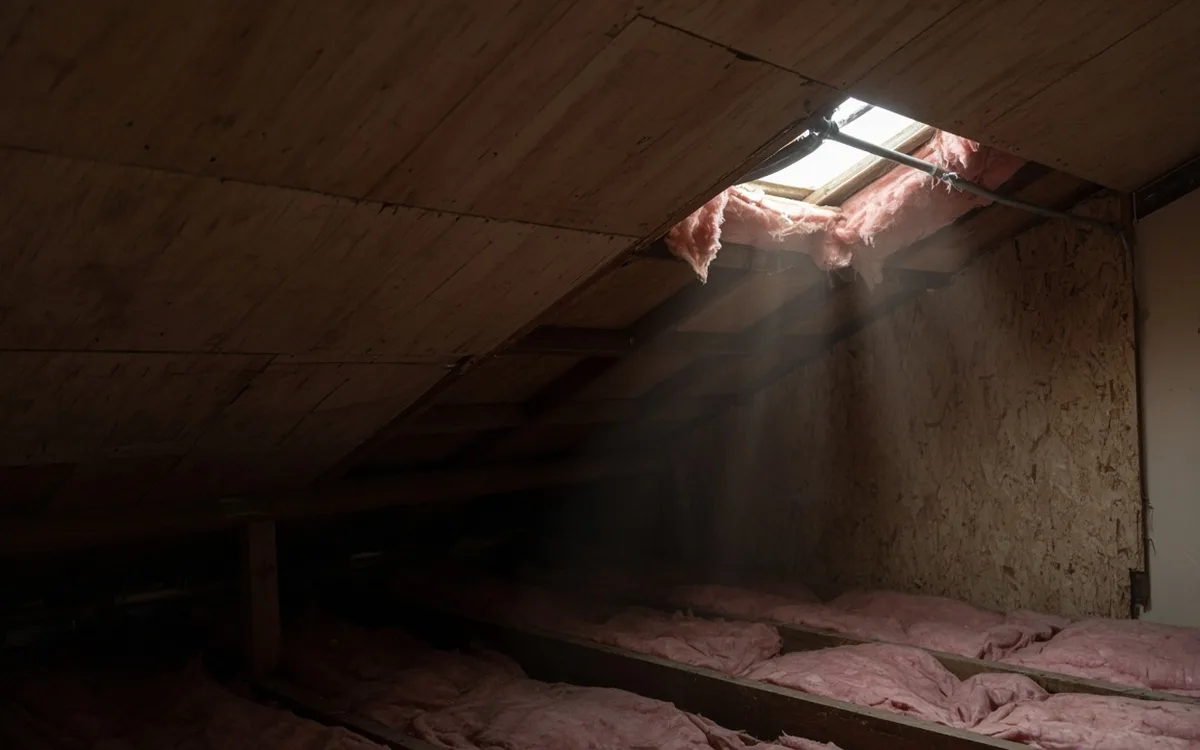
- Schedule an attic look after the first hard rain, especially near penetrations installed late in the day.
A thorough close-out may not prevent every issue, but it addresses the careless ones — the open rail end, the half-seated skirt, the boot sealed in a hurry while the truck idled. Those are the defects you can still see and name before the ladder comes down for the last time.